
2020. 11. 22. 18:05ㆍRaspberry Pi
Hello friends, this is Babae!
This is the final part of the Raspberry Pi series. Today, we will be installing Kodi and along with a repository for an add-on to watch OnDemandKorea.
For those who don't know what Kodi is, it is a media center program that allows you to play music, movies, TV shows, Internet radio, and Internet Protocol TV (IPTV) locally on your device, your network, or stream/download from the Internet. The program itself does not provide any content, and you must install add-ons to access the online content. I will be only covering one add-on today: OnDemandKorea. Now, please understand that you may be accessing copyrighted content and that I assume no responsibility if you do so. There are plenty of add-ons that provide free content as well.
Up until this point, you could have followed the series with any version of the Raspberry Pi and still get decent performance but for Kodi, I highly recommend the Raspberry Pi 4 as it has much better specifications, and most importantly a micro-HDMI output that can handle 4K videos at 60 frames per second (p60). There are two micro-HDMI output but only the first one, labelled HDMI0, can handle the full 4Kp60. If you use both HDMI ports, you will be only running the displays at 30 frames per second (30p). You will also need to enable 4Kp60 in the config. This is also the only part of the series that you will need the micro-HDMI cable, which for under $10, is worth it. Make sure that the cable itself if able to handle 4Kp60 if you intend to use it with a 4K HDTV.
To enable 4Kp60, SSH into your pi and go into raspi-config:
sudo raspi-configGo to Advance Options, then Pi 4 Video Output, then finally, Enable 4Kp60 HDMI.
I also advise in a higher memory split for the GPU to handle your higher bit-rate media files. While you are at Pi 4 Video Output, go to Memory Split and set to 320 MB. You may set it higher but this re-allocation means you will be taking away from the RAM that is used for CPU operations. I do not recommend going any higher than 512 MB as you will not see a performance gain after. This is true for any Raspberry Pi 4, from the 2 GB RAM to 8 GB RAM.
Alternatively, to enable 4Kp60, you can just directly make the change to the config.txt in the boot directory:
sudo sh -c "echo hdmi_enable_4kp60=1 >> /boot/config.txt"After enabling 4Kp60, reboot:
sudo rebootSince the begining of the series to now, there must have been a lot of updates to the apt repositories, the OS, and your installed programs. Let's update everything available:
sudo apt updateThis only updates the repositories, and you will have to now apply the updates:
sudo apt full-upgradeNow, we are ready to install Kodi:
sudo apt install kodiAs you can see, that was the easy part.
The way I have my Pi set up is that it is connected to my TV and the only program I need to display is Kodi. If I need to interact with the command line, I always use SSH. It has no issues running Pi-Hole, Homebridge, my LAMP server, and PiVPN all at once in the background, while Kodi is running. If you want to have Kodi auto-start when your Pi boots, then we need to add Kodi as a service:
sudo nano /lib/systemd/system/kodi.serviceNow, enter in the following:
Unit]
Description = Kodi Media Center
After = remote-fs.target network-online.target
Wants = network-online.target

[Service]
User = <your username>
Group = <your username>
Type = simple
ExecStart = /usr/bin/kodi-standalone
Restart = on-abort
RestartSec = 5

[Install]
WantedBy = multi-user.target
This will set your Kodi to run after your Pi is connected to the network upon reboot. It will also auto-restart when the app is closed. This will happen after five seconds. You can set the RestartSec higher to give you time to login and stop the service if you need to interact with the command line directly. For example, if I lose Wi-Fi connection and therefore have no SSH connection, I will interact with the Pi directly from command line. It has saved me many times.
After entering the above with your own settings, you can close and save by Ctrl + X, then Y, then enter.
We now enable the Kodi service that we just created:
sudo systemctl enable kodiThen start the service:
sudo systemctl start kodiWhen you want to stop the service, for example, when you want to interact with the command line and do not want Kodi to auto-restart:
sudo systemctl stop kodiNow, let's run Kodi:
KodiIf you are using a modern TV with your Pi, you can use the HDMI-CEC feature of Kodi and use your TV remote to navigate. If you are not using a TV or do not have HDMI-CEC, you will have to get a keyboard, or an input device such as this.
We can now install OnDemandKorea!
Download this file from your computer and put it in "/home/<your username>/" on your microSD card. This file is called a repository and contains information on where Kodi can find add-ons. When the add-ons get an update, you can update the add-on from Kodi.
From Kodi's homescreen, navigate to the gear icon (settings). Then go to Add-ons, then Install from zip file, then Root filesystem, then home, then select the file that we downloaded.
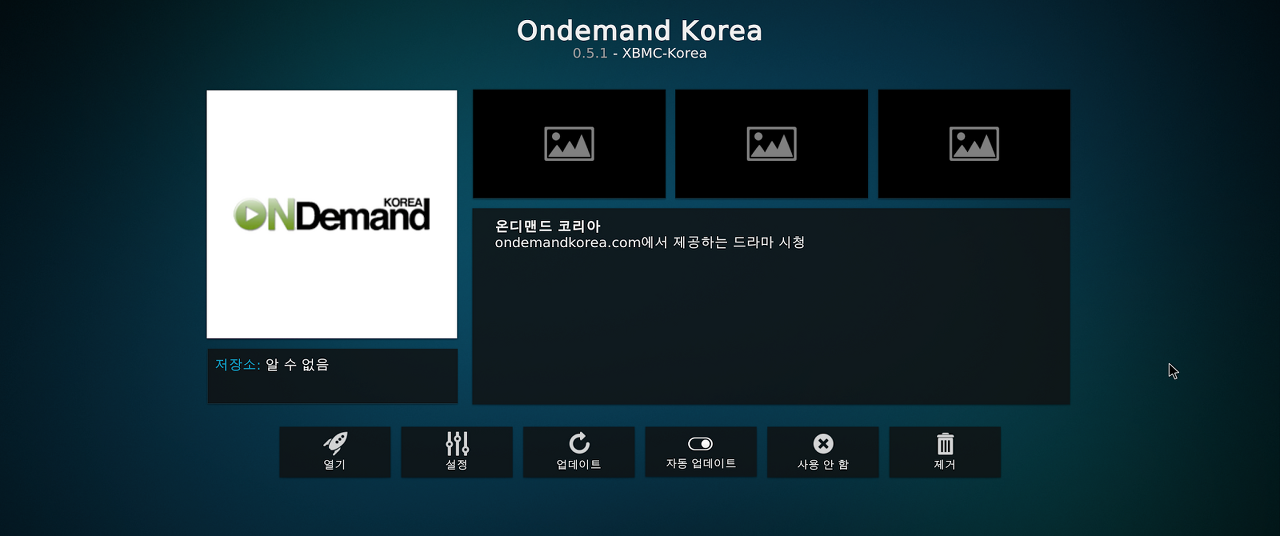
After installing the repository, we can now install the add-on. Go back to the Add-ons screen, and go to Install from repository. Then go to XBMC Korean TV Addons, then Video add-ons, then Ondemand Korea. Now, Install.
To open OnDemandKorea, go back to the home screen on Kodi. On the side navigation, go to Add-ons. Under Video add-ons, you will find OnDemandKorea. Enjoy!
For those who cannot read Korean characters, go to settings again, then Interface, then under Skin, go to Font and choose Arial based.
So, this is it. I hope you all have enjoyed the Raspberry Pi series. If you like my content, you can join me in my next series about health.
마지막 포스트로 이제 라즈베리파이 시리즈를 끝내게 되었는데요!
라즈베리파이를 사용해서 더욱 편하게 한국 드라마 / 예능을 즐기시길 바랄게요!항상 읽어주셔서 감사합니다 :)
-라즈베리 파이를 이용해서 집에서 온디맨드 코리아로 한국 예능 / 드라마 시청하기!
'Raspberry Pi' 카테고리의 다른 글
| The Raspberry Pi Series: Taking Your LAMP Server Online (14) | 2020.11.16 |
|---|---|
| The Raspberry Pi Series: LAMP Server (9) | 2020.10.31 |
| The Raspberry Pi series: PiVPN (2) | 2020.10.09 |
| The Raspberry Pi series: Homebridge 라즈베리파이 시리즈: 홈브리지 (8) | 2020.09.30 |
| The Raspberry Pi series: Securing The Pi / 라즈베리파이 셋업 시리즈: 보안강화 편 (7) | 2020.09.21 |